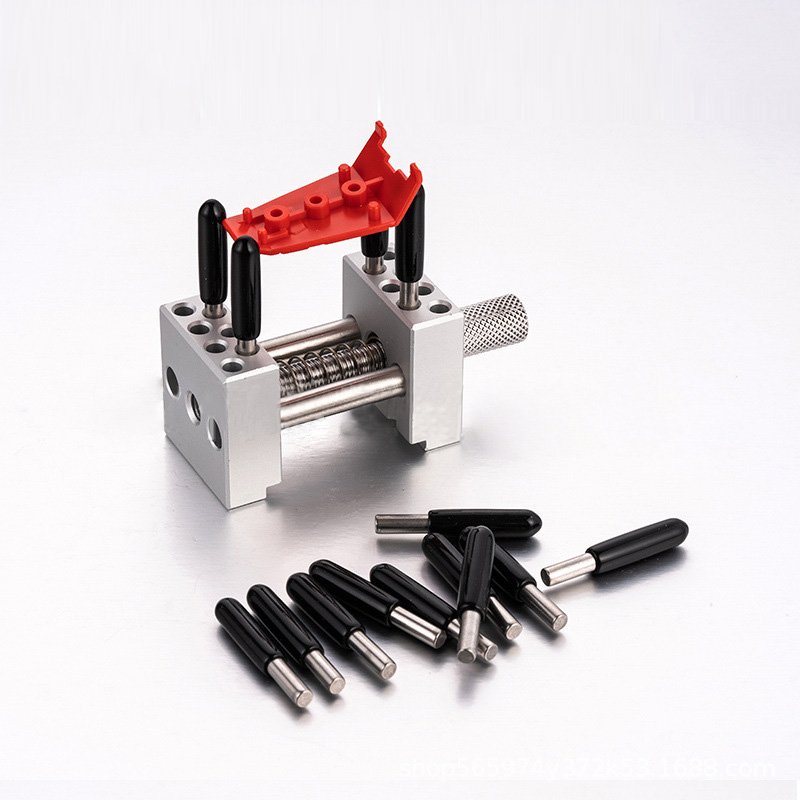
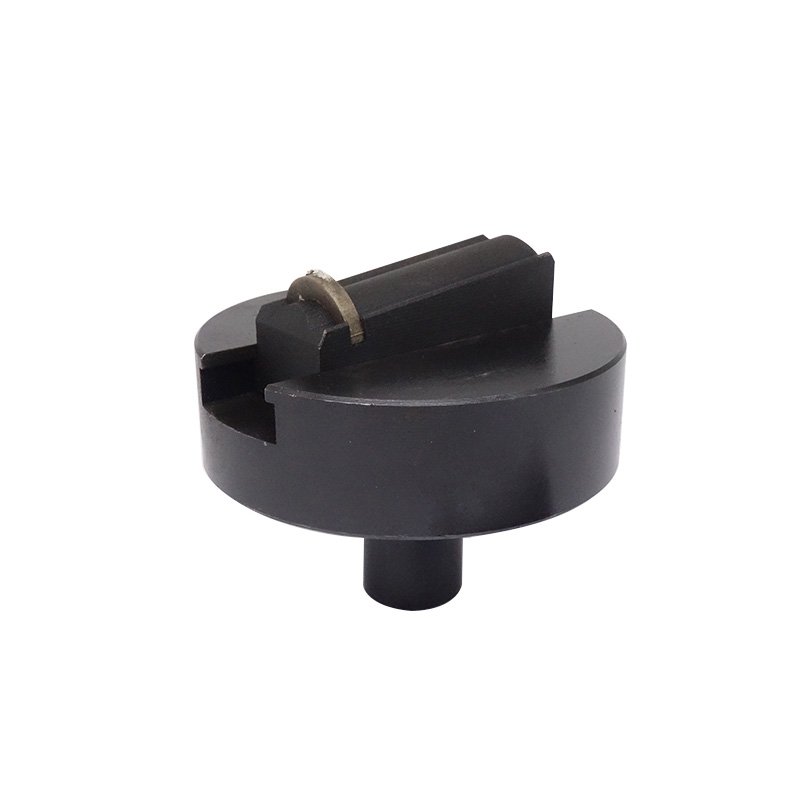
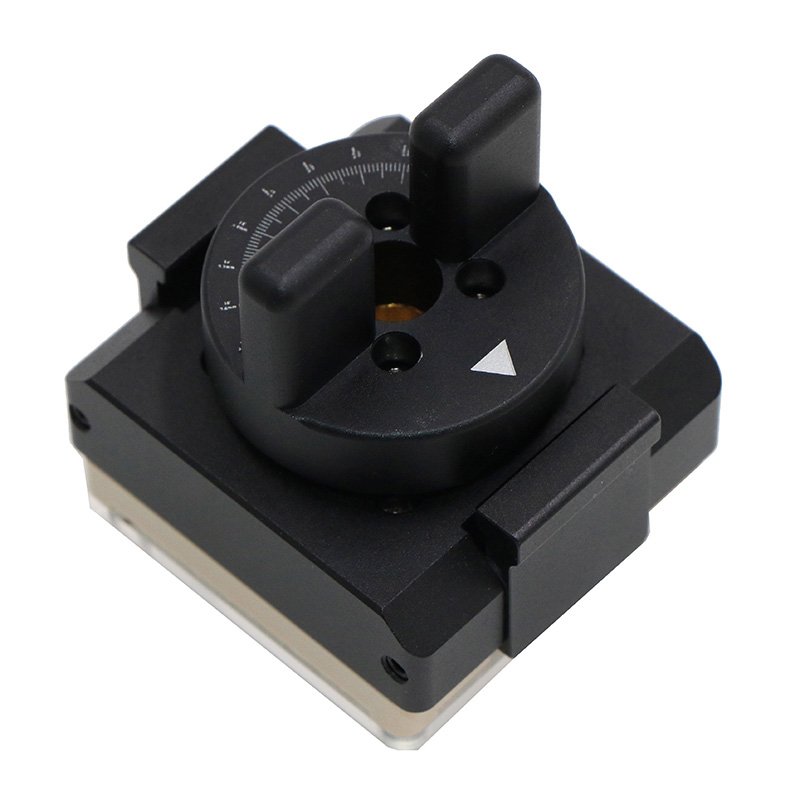
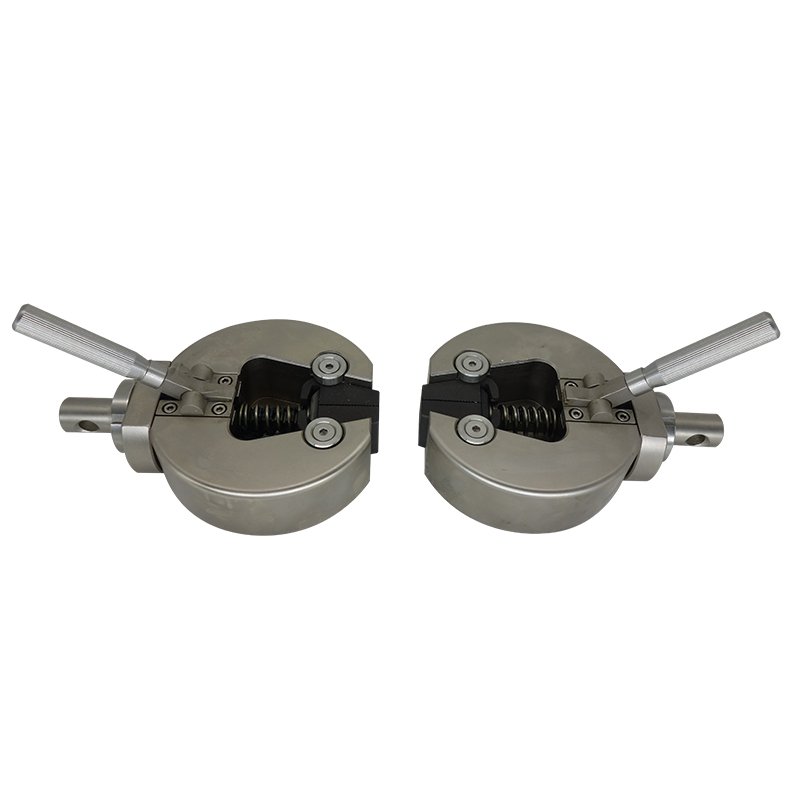
Inspection fixtures are critical tools in manufacturing and quality control processes, designed to ensure the accuracy, consistency, and reliability of parts and assemblies. These fixtures are used to hold, position, and measure components during inspection, enabling manufacturers to verify dimensional accuracy and adherence to design specifications. This article provides a detailed overview of inspection fixtures, their types, applications, and key considerations for selection and use, based on real-world data and examples.
What Are Inspection Fixtures?
Inspection fixtures are specialized tools used to hold and position parts during quality control inspections. They are designed to replicate the assembly conditions of a product, allowing inspectors to measure and verify critical dimensions, tolerances, and geometric features. Inspection fixtures are commonly used in industries such as automotive, aerospace, electronics, and medical devices, where precision and consistency are paramount.
Key Functions of Inspection Fixtures
- Part Positioning: Securely hold parts in the correct orientation for inspection.
- Dimensional Verification: Enable accurate measurement of critical dimensions and tolerances.
- Repeatability: Ensure consistent inspection results across multiple parts.
- Efficiency: Streamline the inspection process, reducing time and labor costs.
 Types of Inspection Fixtures
Inspection fixtures come in various designs to suit different applications and part geometries. Below are some of the most common types:
1. Modular Fixtures
- Design: Composed of interchangeable components for flexibility.
- Applications: Ideal for inspecting a wide range of parts with varying geometries.
2. Dedicated Fixtures
- Design: Custom-built for specific parts or assemblies.
- Applications: Used in high-volume production where consistency is critical.
3. CMM Fixtures
- Design: Designed for use with Coordinate Measuring Machines (CMMs).
- Applications: Enable precise measurement of complex geometries and tight tolerances.
4. Functional Test Fixtures
- Design: Simulate real-world operating conditions to test part functionality.
- Applications: Used to verify the performance of moving parts or assemblies.
5. Optical Inspection Fixtures
- Design: Equipped with optical sensors or cameras for non-contact measurement.
- Applications: Ideal for inspecting small or delicate parts.
Applications of Inspection Fixtures
Inspection fixtures are used across a wide range of industries and applications, including:
1. Automotive Manufacturing
- Example: Used to inspect engine components, body panels, and suspension parts for dimensional accuracy.
2. Aerospace
- Example: Ensure the precision of turbine blades, fuselage sections, and landing gear components.
3. Electronics
- Example: Verify the alignment and dimensions of circuit boards, connectors, and housings.
4. Medical Devices
- Example: Inspect surgical instruments, implants, and diagnostic equipment for compliance with strict tolerances.
5. Consumer Goods
- Example: Used to check the dimensions and fit of components in appliances, toys, and furniture.
Selection Criteria for Inspection Fixtures
When selecting inspection fixtures, consider the following factors:
1. Part Geometry
- Complexity: Choose fixtures that can accommodate the part’s shape and features.
- Size: Ensure the fixture can handle the part’s dimensions without compromising accuracy.
2. Measurement Requirements
- Tolerances: Select fixtures capable of measuring tight tolerances.
- Measurement Methods: Consider whether contact or non-contact measurement is required.
3. Material
- Durability: Use materials like aluminum or steel for long-lasting performance.
- Weight: Lightweight materials like aluminum are ideal for portable fixtures.
4. Production Volume
- High Volume: Dedicated fixtures are suitable for mass production.
- Low Volume: Modular fixtures offer flexibility for smaller batches.
5. Environmental Conditions
- Temperature and Humidity: Choose materials and designs that withstand the operating environment.
Installation and Maintenance Tips
1. Installation
- Calibration: Ensure the fixture is properly calibrated before use.
- Alignment: Verify that the part is correctly positioned in the fixture.
2. Maintenance
- Cleaning: Regularly clean the fixture to prevent contamination or damage.
- Inspection: Check for wear or damage and replace components as needed.
Common Issues and Solutions
1. Measurement Errors
- Issue: Misalignment or wear can lead to inaccurate measurements.
- Solution: Regularly calibrate and inspect the fixture.
2. Wear and Tear
- Issue: Frequent use can cause components to wear out.
- Solution: Use durable materials and replace worn parts promptly.
3. Part Deformation
- Issue: Excessive clamping force can deform delicate parts.
- Solution: Adjust clamping mechanisms to apply minimal force.
Conclusion
Inspection fixtures are indispensable tools in quality control, ensuring the accuracy and consistency of parts and assemblies. By understanding the different types, selection criteria, and maintenance practices, manufacturers can optimize their inspection processes and maintain high-quality standards. Whether you’re working in automotive, aerospace, or medical devices, inspection fixtures are a critical part of your success.

